Friday, April 1, 2011

Kitchen Rehab

I love beautiful kitchens.

What really calls to me is kitchens where the island looks like a piece of furniture.

Like these beauties:
(No idea where this came from - I've had it saved for a little while)

As I'm posting these pictures I noticed that both pictures feature black islands.  That wasn't even on my radar when I saved these but it IS what I'm doing with my kitchen.  Apparently black calls to me as well.

This is my current kitchen:
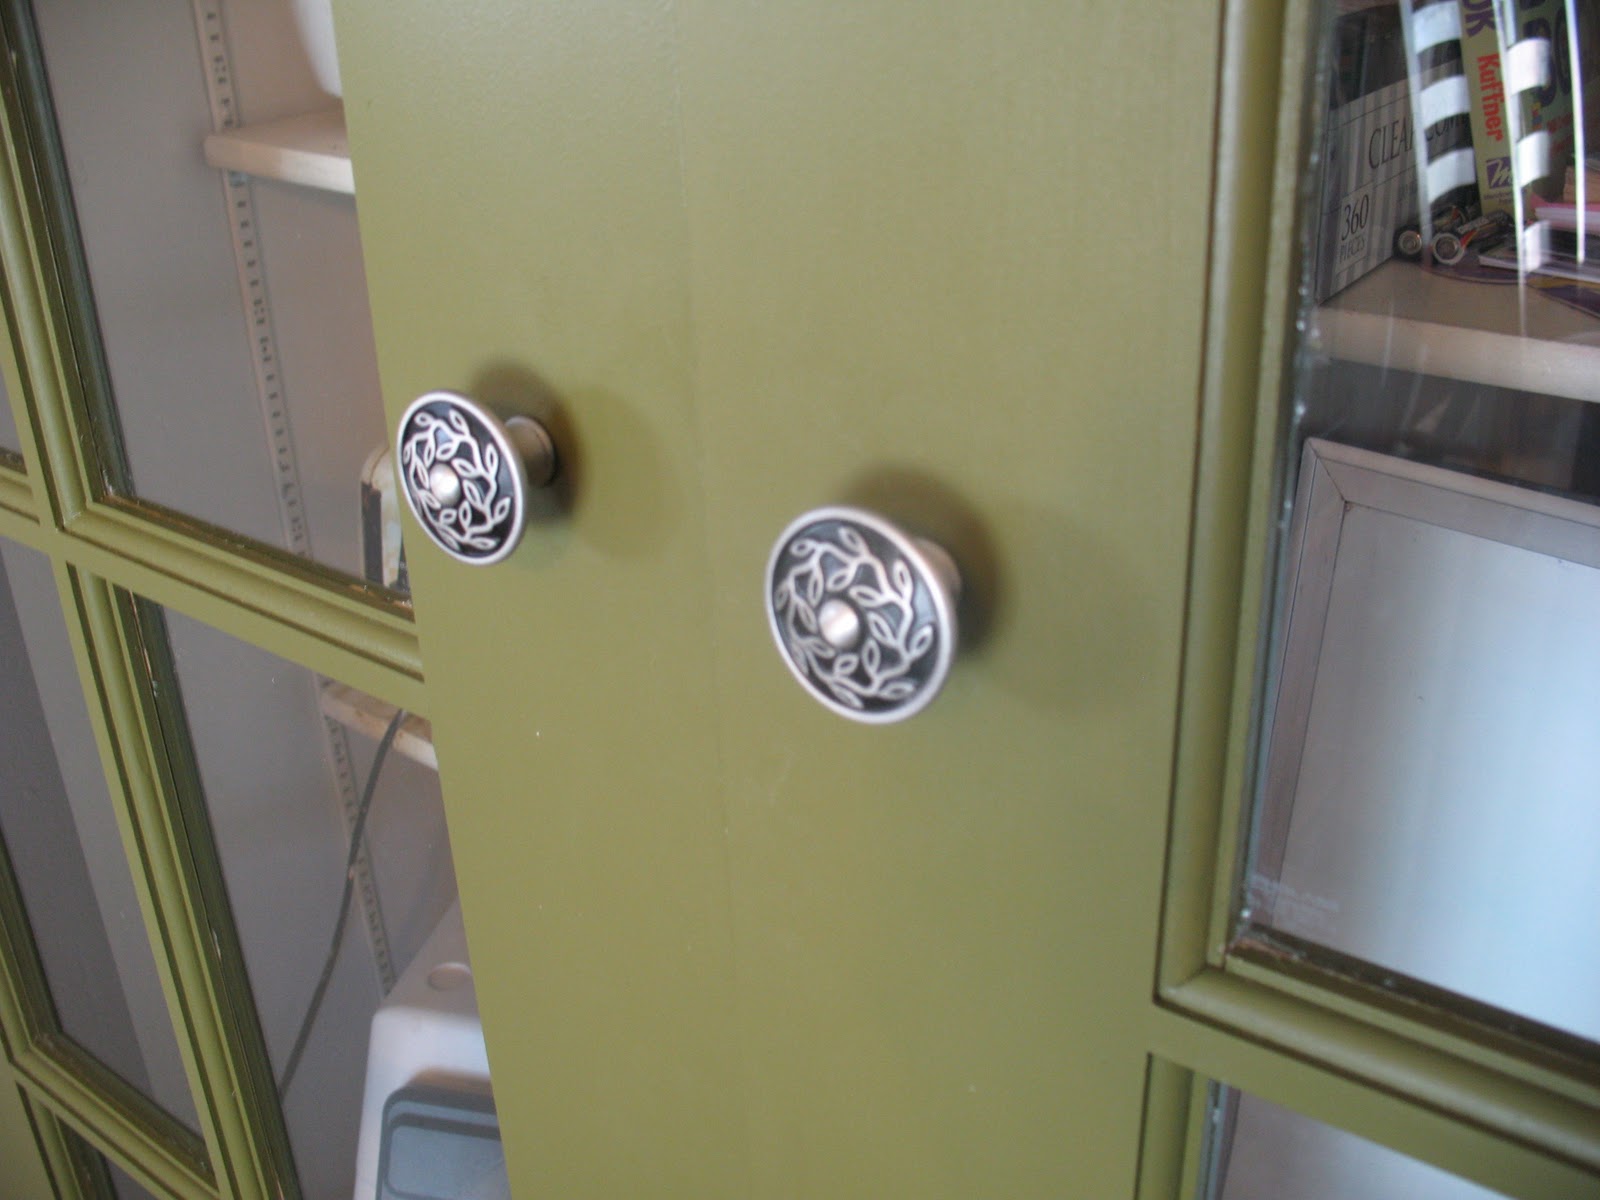
Lower Cabinets
I was so tempted to add arrows & labels to everything I want to change but I figured you wouldn't be able to see the picture anymore ;)

Everything except the layout is changing.  The cabinets are getting painted, the hardware updated, the blue sink (while definitely a conversation piece) is getting replaced, the hundreds of switches are being streamlined (hopefully), backsplash updated, counters replaced... whew.  I think that's it for what you can see in this picture.

Upper Cabinets
These upper cabinets provide a ton of storage but they also prevent anyone in the kitchen from being able to see what's going on anywhere else in this part of the house.  The ceiling is a drop ceiling so the cabinets are just that much lower.  I'm thinking open shelving.  I know it scares a lot of people but I think we can pull it off.

Here is the view from the dining room.


I am so excited to dig into this project!!

Wednesday, March 30, 2011

Time to get it done

I feel bad.
My son's room is perfect, my favorite room in the house by far.  But he was my first and I had a TON of free time to decorate his room before his arrival.

My daughter joined our little family nearly two years later and I just couldn't get her room done.  I had a hard time coming up with a plan, I couldn't find time, and I just couldn't envision it.  Here it is nearly 3 years later and it's still not complete!

I'm working on fixing that right now!  Maybe by her 3rd birthday I'll be done.  Maybe.

First she needed something on the walls.  This is what I wanted:

This is what I did first though:

I got impatient one night and used some blank canvases I had around the house instead of going to get some embroidery hoops. I hated it!  As soon as it was on the wall I hated it!  I never even tried to find something else for the 2nd little shelf.  The next day I went on a hunt for embroidery hoops.

I used iron transfers to add a couple of Elsha's most common nicknames to the center hoop.  I'll be adding more names to it as she aquires more nicknames and pet names.


Every week the circles seem to be in a different pattern.  Sometimes a little different, sometimes a lot different.  I learned that the kids were taking them down and playing with them.  I can envision embroidery hoop frisbee's flying around the room.  As long as they put them back...

I'm really liking the plaid material. It has this line of green in it that I think the room really needs.  I'll be using a lot more green in her room in future projects.

Monday, March 28, 2011

Beautiful Pantry Doors

I had this wall of closets in my kitchen

I loved the storage they provided but just not the look and feel.

I made a change - a big one - and I love it!


The original plan was to frost the glass but I am liking the way it feels open.  So... I'm adding decorating the pantries to the massive To-Do list.  Funny story about that list actually.  The other day my husband asked me what I was going to do when I got everything done on the house.  I just laughed and said "We'll never be done sweetie, but it's cute that you think we will be."  Isn't it true!  There's always something.


Next time I do a project like this one I'll peel all the plastic off the individual windows prior to painting.  The paint sealed some of the plastic in and it's been a pain to get out.  I've had to go around each pane, front & back, with tweezers and attempt to pull out all the plastic.  Once that's done I'll need to touch up the paint where the plastic pealed off the paint when we removed it.  Removing the plastic is a tedious task now, one I don't know if I'll ever really finish.  It also feels more like cleaning than a fun project so it's on the list but not very high.  I'll do it one day, eventually, when I'm bored (HA!).

There's a sneak peak of my next two projects up there.  I <3 Beadboard!

Friday, March 25, 2011

Finishing up My Vanity - Desk

I can't wait.  I have to share my new desk, turned vanity!


I used this tutorial from Centsational Girl for the paint technique.  I made a few adjustments to make my piece darker. Glidden's Peacock Blue replaced the turquoise.  Black paint left over from another project was used instead of white.  After attaching my applique and hunting down the perfect tutorial I noticed Cent. Girl used the same applique.  Great minds and all...HA, cuz you know I have no where NEAR her skills.  I was just impressed I put mine on in the right direction - whew! 

I love the overall effect and it turned out better than I imagined.
(The knobs are from Hobby Lobby.)

I 'SQUEEED' like a teenage girl meeting some pop idol (don't ask me who, I can't keep up) when the piece came together.  I even clapped and jumped up and down, much to the amusment of my husband.

Here's the transformation:

BEFORE
(you'll have to use your imagination - I forgot to snap a true before picture the drawers haven't been sanded at all)

AFTER


What I Learned
  • I love painting furniture
  • I am still scared of distressing, dry brushing and other such finishes - what if it doesn't turn out and I have to start over??  I love how it looks so I'll continue to face that fear.
  • Once you have some of the basic tools & supplies (ie: sander, sanding blocks, protective finish) refinishing furniture is really cheap! 
Next up on this project - repurposing the mirror from my old bathroom and finding a cute little stool. 

Wednesday, March 23, 2011

New Floor

Long ago we decided to replace several different types of flooring in our home with tile.  We were just dragging our heals on the project because of both time and money.  When we were kinda forced into a bathroom remodel it seemed like a great time to tackle the entire upstairs. 
We are nothing if not ambitious.
And maybe a little crazy.


We selected a great tile from Home Depot and with the help of my Father-In-Law we started tiling our entryway, hall way, bathroom, kitchen and dining room.  Can I just tell you how much fun it is to try to lay square tiles in a home that doesn't have a single square wall.  I was cross eyed by the time we were finished figuring out where to start.

I am so proud to say that I tiled the entire area myself (minus the handful my FIL did to teach me).  A little over 400 square feet.  Go Me!  James kept me supplied with tiles and cut the tiles when needed.  That was pretty much a full time job itself so I was very grateful for his help.


I love this floor.  The variations in each tile were a little unexpected and I was not happy when I first saw the light tiles.  The sample at the store had only dark tiles so when I opened up all my boxes and discovered the dark tiles weren't as common as the light tiles I almost returned them.  BUT... we were on a time table and I didn't have time to figure something else out.
I am so glad I kept these tiles!!  Gotta love it when things work out despite your fears. 

I'll admit that there is one tile, ONE, that bugs me.  I tried really hard to be sure that the tiles blended into the surrounding tiles but this one didn't.  grrrrr.  It's in the picture below - can you spot it or is it just me?


Ahh...
So much better than the four different flooring types we replaced.  I shared a picture of three of those in this post

Once again I learned something new about myself by redoing my floors.  I though I hated mopping.  I don't!  I just hated my floors, they never felt or looked clean no matter how much I scrubbed.  I mop all the time now - gotta keep my lovely tiles lovely!

The floors look so good with my new pantry doors.
More on those later...  LOVE THEM!

Oh yes, and because we can never finish a project...
The step is about a quarter inch bigger than the end piece tiles.  We either need to shave the step back a little bit or have a HUGE grout line after the edge piece.  We'll figure it out sooner or later... and maybe even get the new molding on too.

Friday, March 18, 2011

Progress On My Vanity

Each month I have a few (sometimes even just one) goal to get done on my home.  I feel like they are pretty realistic goals - but then again, I'm finishing up January's goal this weekend so I guess they aren't as wise of goals as I'd hoped.  Anyone else do that?  Anyone...  please... nope, just me - darn!

For the last year and a half I've been searching Craigslist & KSL for a used desk to turn into a makeup vanity for myself.  I had some pretty specific requirements for the desk as well as a desire to have something really girlie with some great curves.  I see all these deals that people get on Craigslist around blogland and I feel completely jealous!  There was nothing for less than $200 and even the expensive pieces still would've needed to be refinished.  GAH!

I mentioned to my mom that I wanted to find a wood desk with little drawers on each side.  At this point I wasn't even worried about the curves.  Do you know what she said?  SHE HAD A DESK... and... SHE WAS WILLING TO PART WITH IT! 

(Mid-sanding)

I had completely forgotten about the little desk in her office (she has three desks in her office so it isn't hard to forget about one). I was so excited - not only did she have the perfect little desk but it would be something from my mom. Perfect! It's not curvy, and do you know what, I think I like it even more than my original vision.

I used about 100 sheets of sandpaper.  Okay, not really, but it sure felt like it.  I eventually borrowed a friends belt sander to get all the varnish and stain off the desk - it worked lickety-split!  I added a little doo-dad to the front panel and was ready to paint.

More on the painting later - I'm so excited to see this project completed. :D

Sunday, March 6, 2011

"New" Kitchen

I have been dreaming of a new kitchen ever since I moved into my home in May of 2005.  It was supposed to be done by the end of that year.  It was top on a long list of "Things To Do To The Home."
It was going to be glorious. 
Then... life happened and the kitchen just wasn't that important any longer. 

As time went by my dream kitchen morphed a little here and there but mostly remained the same.  Unfortunately, it kept the same expensive price tag. 

Last year my husband and I sat down with the finances to see if we would be able to redo the kitchen in the next couple of years (not a fun task when you're self employed in the construction field during a poor economy).  We figured the dream kitchen will have to wait for our dream house.  My husband apologized profusely - but there really was no need.  My mind was already spinning with new ideas, cheaper ideas, ideas I could do NOW instead of waiting for the funds that never seemed to magically appear in our 'kitchen fund.'

Step 1:  Pretty Up the Pantries
 
We are lucky to have 3 large pantries in our kitchen.  Extremely lucky.  The more I thought about it the more I was glad to keep them.  I just don't like the wall of closets in my kitchen.  It felt odd.  It will be fixed.

Step 2:  Flooring
I hate my floors.  Yup, plural, floorS.  From the picture above you can see 3 different types of flooring.  There's another type in the Living Room around the corner and yet another type in directly behind in the Family Room.  Oh yes, and another one in the bathroom (before re-doing the bathroom).

There are many, many, many (sigh) more steps in my grand plan to overhaul my kitchen but these are the first two and probably will make the biggest impact.